
Raspberry pi 4 Argon One M2 emulator
Emulation has been something that I’ve been fascinated by for a long time ever since the ideas of ROMs (and piracy) have come about. It just so happens that I’ve been also curious about Raspberry Pi stuff and studied a lot about it, but I never got about to actually trying it out so here we are.

Retro stuff have always been a thing since nostalgia sells well and it helps that the people who go through the memory lane actually have more money now than they had when they were a wee lad. I also do not have the physical space to store both old consoles and game cases so I decided to go for the next best thing which is to make my own hardware which can play most of the games i liked or wanted to play.

For this build I went for the Raspberry Pi 4 with Argon One M2 Case. The RP4 was a no brainer to be honest since I wanted to play old Playstation 1 games and I dont think the RP3 can handle them without slowing down at all. Also went for a 4GB Ram instead of an 8GB Ram because I doubt I’ll need that much and Playstation 1 consoles run on a 2MB VRAM so theoretically 4GB RAM should be more than enough.

Though there were a lot of cases to consider, I ended up with thhe Argon One M2 case because of the nice aluminum case that acts also as a passive heat sink and the fact that it has a fan inside helps in long gaming sessions. I doubt I’ll be able to use the IR function and the easy access GPIO pins for this build. In fact I think i went overkill when it comes to pre-fabricated cases but the price and the functionality of the Argon One M2 made it well worth the purchase.

Decided to make use of Recalbox which is a fork of Retroarch. I’m not sure if other builds like Retropie or Batocera wouldve been better but Recalbox serves all my immediate purposes and installation was quite easy and all you need is to pop your SD card to your PC and go to the recalbox website and download the installer. The installer will flash the SD card for you and install Recalbox without any complications. Just google recalbox installer and youre good to go! (Or just visit this link)

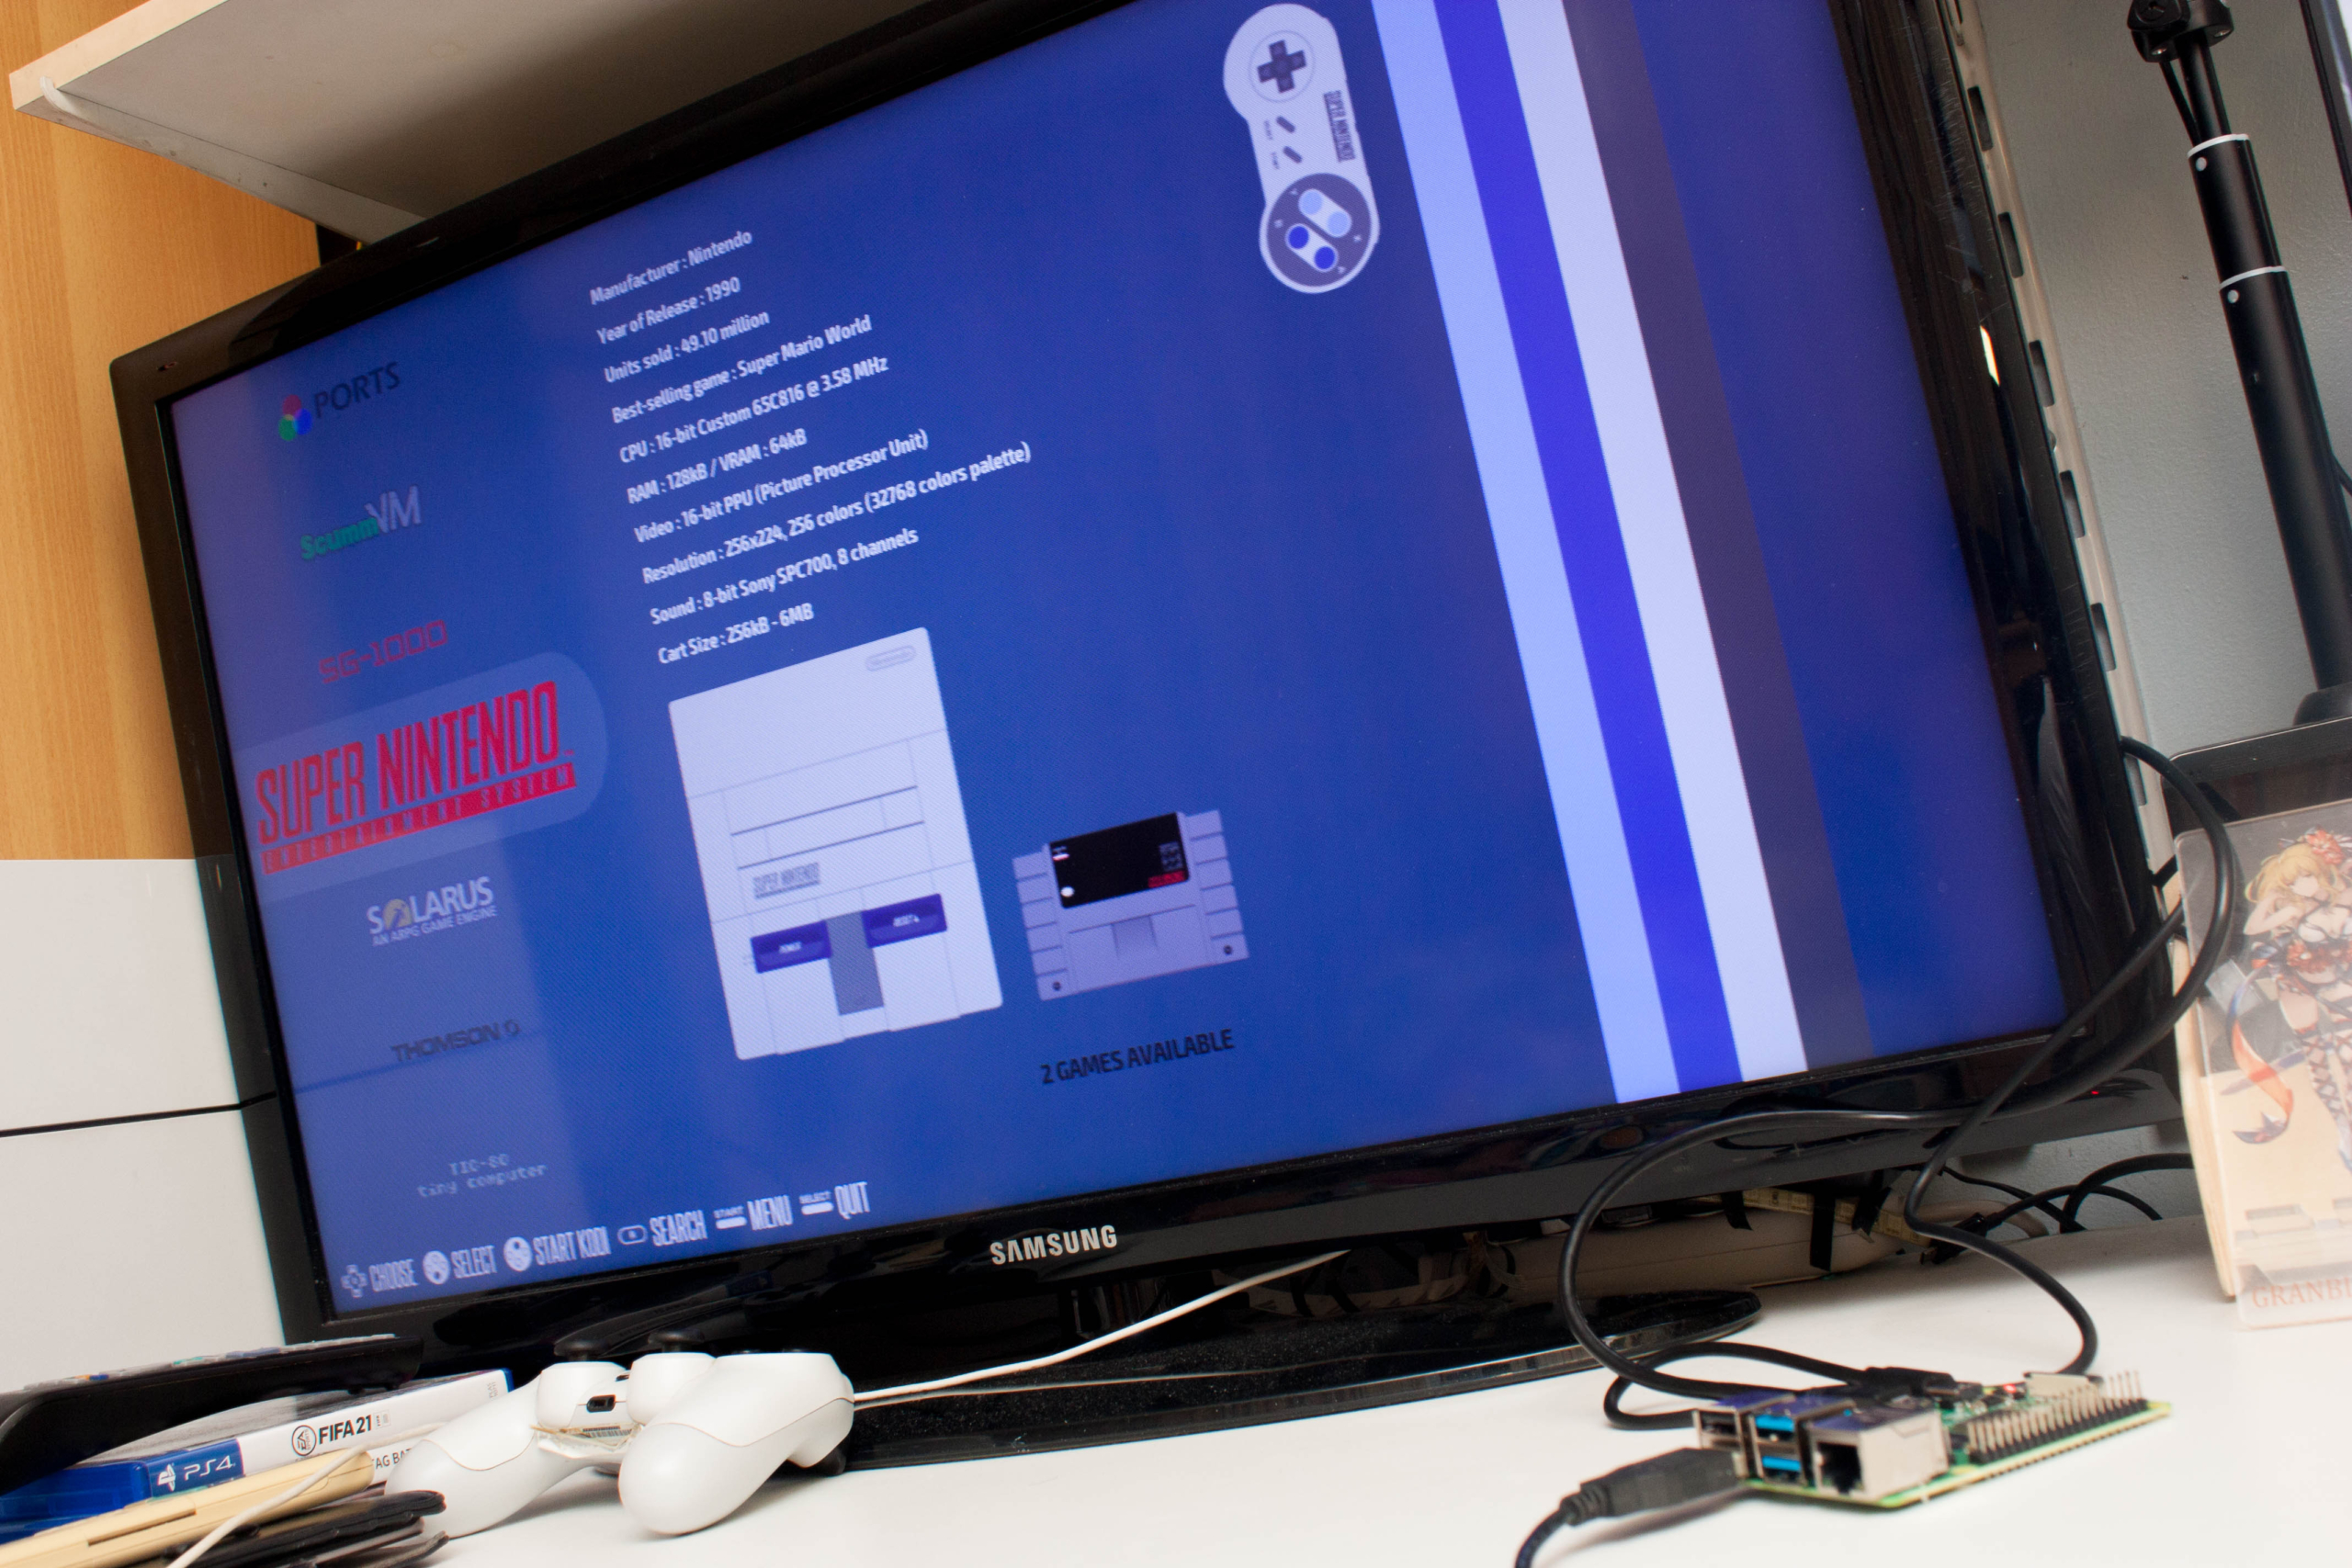
Raspberry pi 4 with the cords for initial testing. First boot takes longer than usual (like 5 minutes i think) but after that, it takes like around a minute at most. Recalbox has like 20 games packed with the software and it seems the RP4 is working well so it’s time to go to the next step: getting the games.

To be honest, the most time consuming part is filling up the 128Gb SD card with games. For this build, I decided to prioritize one player genres like RPGs and adventure/action games followed by multiplayer games like fighting games and other stuff like Twisted Metal 2 or Power Stone. Aside from actually downloading/ripping them, the next phase that’s both enjoyable and time consuming is testing ALL the games you downloaded. It’s pointless for the console to have a large library of games but most of them don’t work so I had to test each and every one of them.

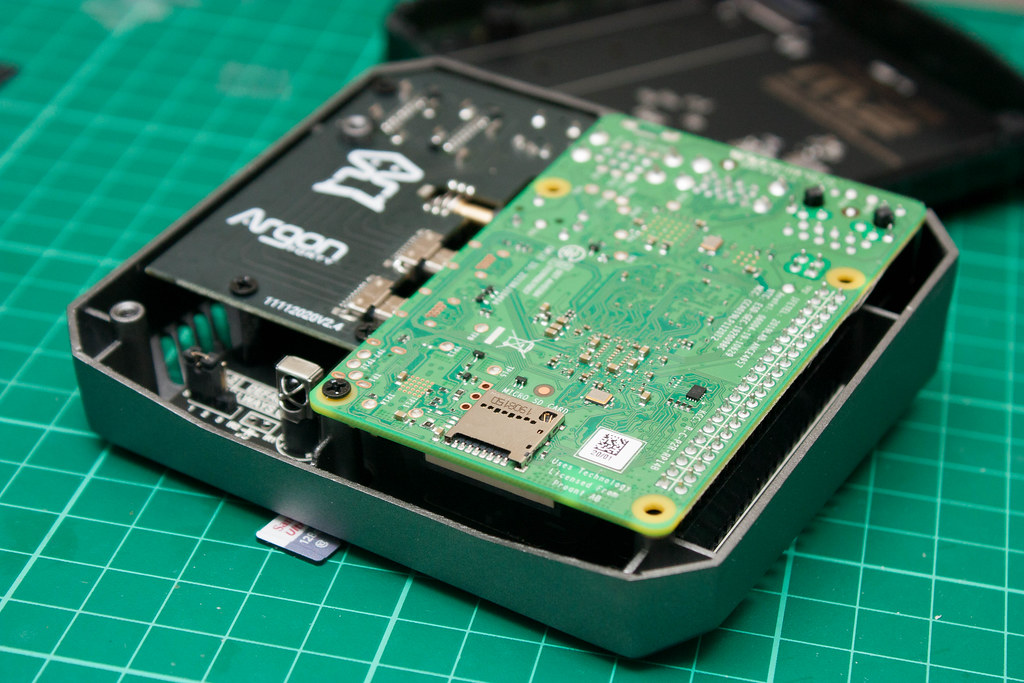
Now that I’ve installed all the games (I have like 7GB of free memory left in the 128 GB SD Card), it’s time to install the daughter board for the Argon One case. Installing it was quite easy as it’s literally just stick both ends. just have to be careful not to bend anything.

The bottom part of the case where the SSD is supposed to be placed. The only issue i see with the M2 case is that there is no SD card slot underneath the case for easy SD card removal. Do take note of that if your use case for the RP machine requires you to remove the card constantly. I’m also using an SD card for this build instead of an SSD since it’s kind of hard to move around during quarantine since Covid is a thing.
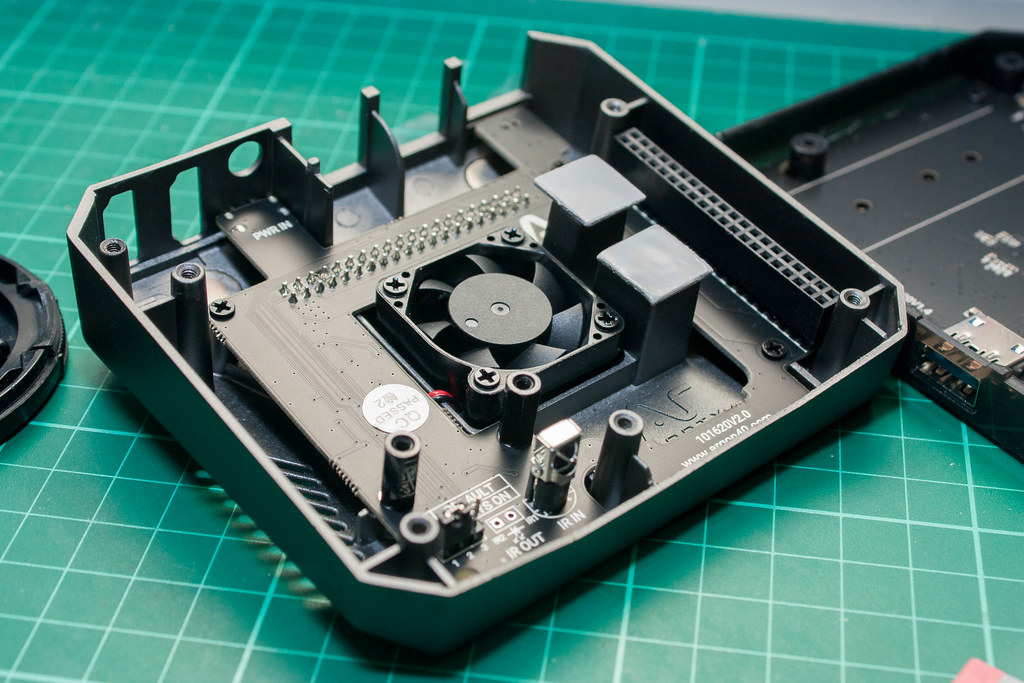
Fan is already attached to the case so no need to fiddle where to plug it in making this case quite easy for beginners. Also decided to go for the thermal padds that came with the case instead of applying my own thermal paste.
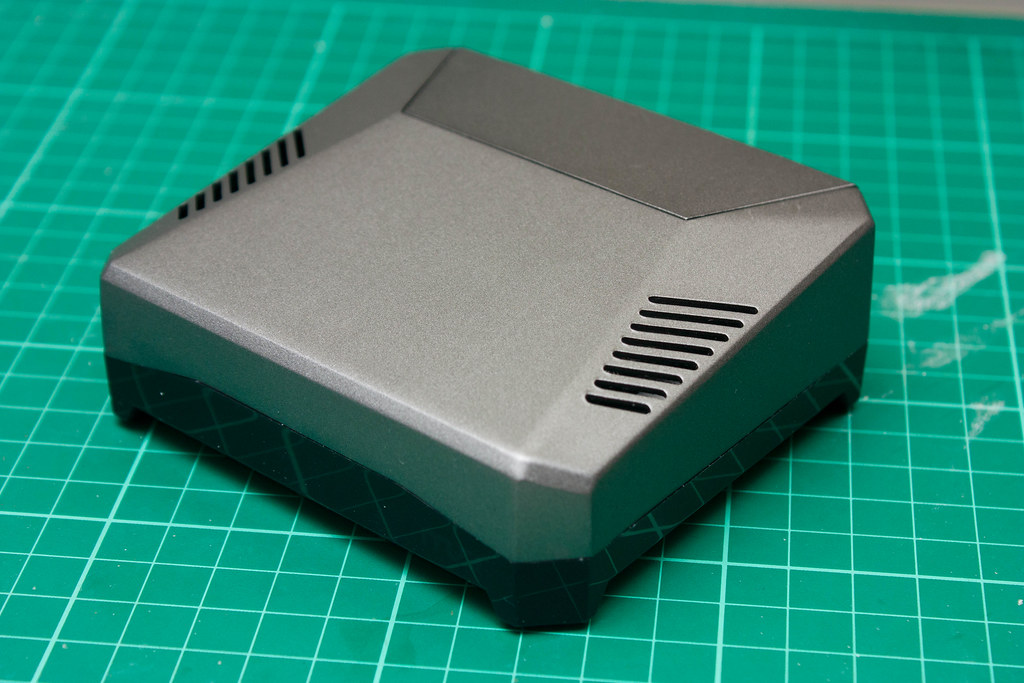
Finished! Putting the entire thing took 10 minutes compared to getting all the games which took ten hours i think ^^
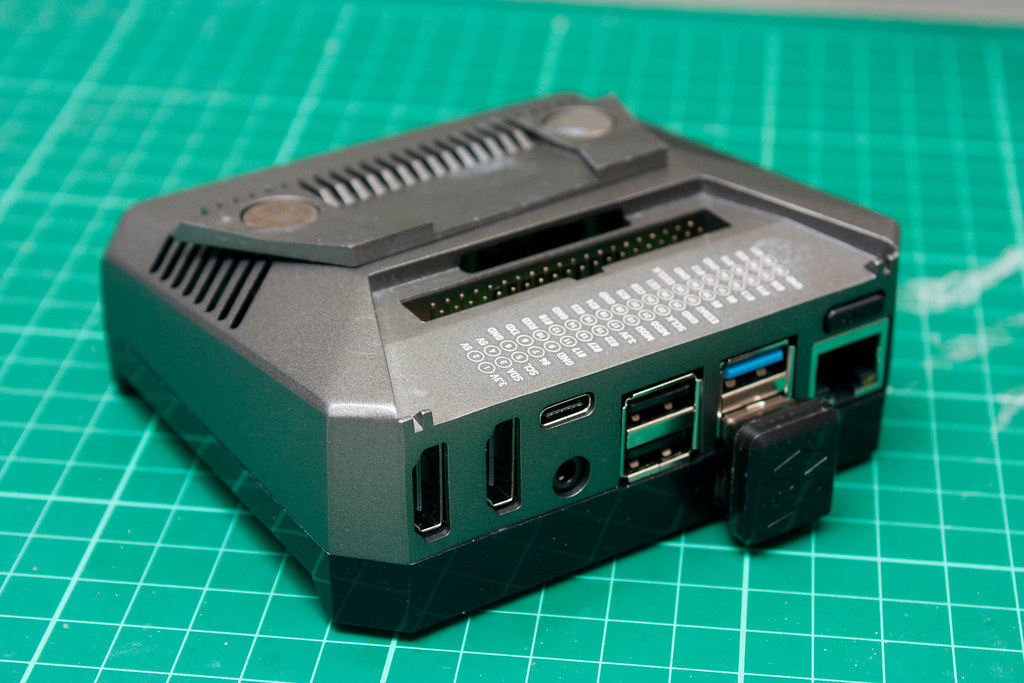
The GPIO portion can easily be accessed by the magnetic top lid of the console. At the moment I have no use for this feature since the project is only for emulation. If anything, the only issue here which I havent checked is if i can use a USB extension to extend the number of USB ports from 3 to at least 4. The other USB3 slot is being used to connect the RP4 to the SSD through a male to male USB connector.

Everything seems to be working well. If there was anything lacking in this project, it’s the fact that I left out the use of Game Sharks from the emulator though i think there’s one built into the Retroarch but it’s not as comprehensive. I also havent setup the 2nd player’s button settings yet so maybe in the future I guess?

Do notice that there’s some scaling involved as you can see with the black bars and the resolution going into 4:3 instead of the usual 16:9 (well that’s because PS1s were made for 4:3 TVs back then). Although there are options to somewhat “extend” the resolution, the video quality might suffer so I decided not to enable it.
I do understand that I couldve just used my PC for emulation but i wanted a physical repository for these games that’s both compact and easy to the eyes. I’m considering getting an Argon Neo for this case since it’s smaller and there’s easy access to the SD card slot, but I’ll have to trade that for the internal fan and possible SSD storage use. We’ll see i guess.
That’s about it. It’s been a long time since I last posted (literally a year). Been busy with a lot of things and projects and I’d love to share them with you but that’s for another entry ^^

Leave a Reply
Want to join the discussion?Feel free to contribute!